Wednesday, February 20, 2013

Tunisian Yo-Yo's (doughnuts)


   In my quest to find more recipes from around the world, my best friend told me about a type of doughnut she'd had in Tunisia. After some searching, I found some information on a Tunisian street food called "Yo-yo's." Yo-yo's are an adaption on the typical Western doughnut, but with a North African flair.

   They're made with orange juice and coconut, and dipped in a warm honey syrup. I altered the syrup slightly by using orange juice instead of water, and adding a hint of vanilla extract. I topped the freshly soaked doughnuts with black sesame seeds. The nuttiness complimented the sweetness quite well, although I didn't photograph them with the seeds, as the little black specks didn't look very appetizing! If you're going to use sesame seeds, I recommend the unhulled white variety!


For the dough --

3 Eggs
1/4 Orange juice (fresh or bottled)
2 Tbs Finely chopped Coconut
1/4 Vegetable oil
1/4 Sugar
1 1/2 tsp Baking Soda
2 1/2 cups Flour
--------------------------------------------------

For the syrup --

2 cups Water or Orange juice
1 cup Sugar
1 cup Honey or Agave Nectar
2 Tbs Lemon juice (Real Lemon is fine)

2 cups Oil for frying
--------------------------------------------------

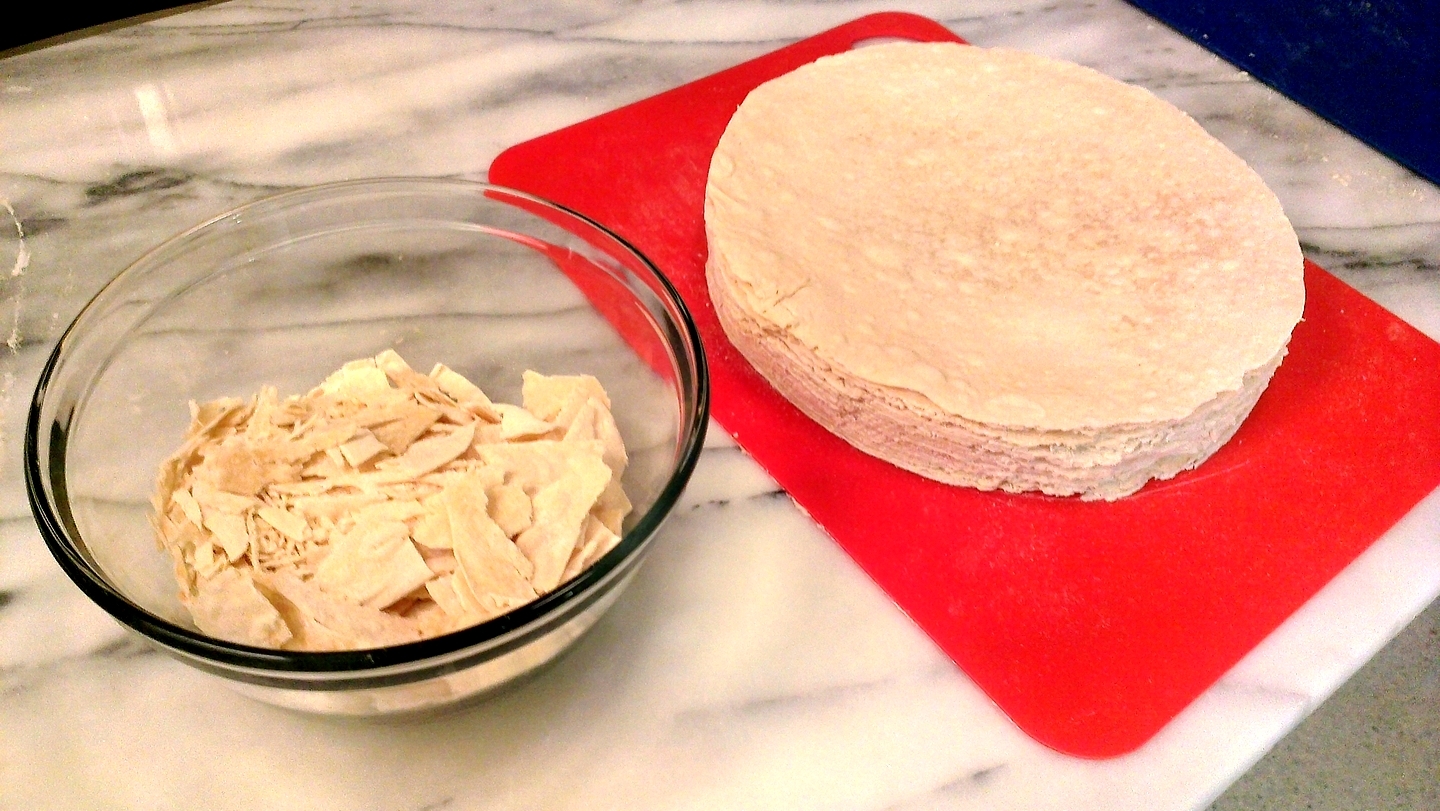
Before you get your ingredients, lets have a word about coconut! Knowing that I only needed 2 Tbs of coconut, I decided to go with fresh for this recipe, thinking "how hard can it be to open and prepare a coconut?" Well, lets just say that if I was ever going to make this recipe again, I'd use either the sugary, shredded kind that they sell in the baking aisle, OR I'd spend the extra couple dollars to buy the pre-prepared fresh coconut from Whole Foods. Problem with that, is it seems to be a seasonal thing, and I really didn't feel like spending the extra time and fuel to go there on the off chance that they might have it.

So, if you're using a fresh and whole coconut... know what you're getting into! I used some tips from > here < to make sure I didn't end up with a gigantic mess. Although, I still ended up with a gigantic mess, and coconut fuzz all over my kitchen. 

The inner brown flesh of a coconut is edible if you don't want to deal with cutting around it (which I didn't.)


To get going, add your eggs, orange juice (I used Blood Orange, since it's what I had on hand), 1 Tbs of the coconut, and sugar to a blender. Blend until smooth and frothy.


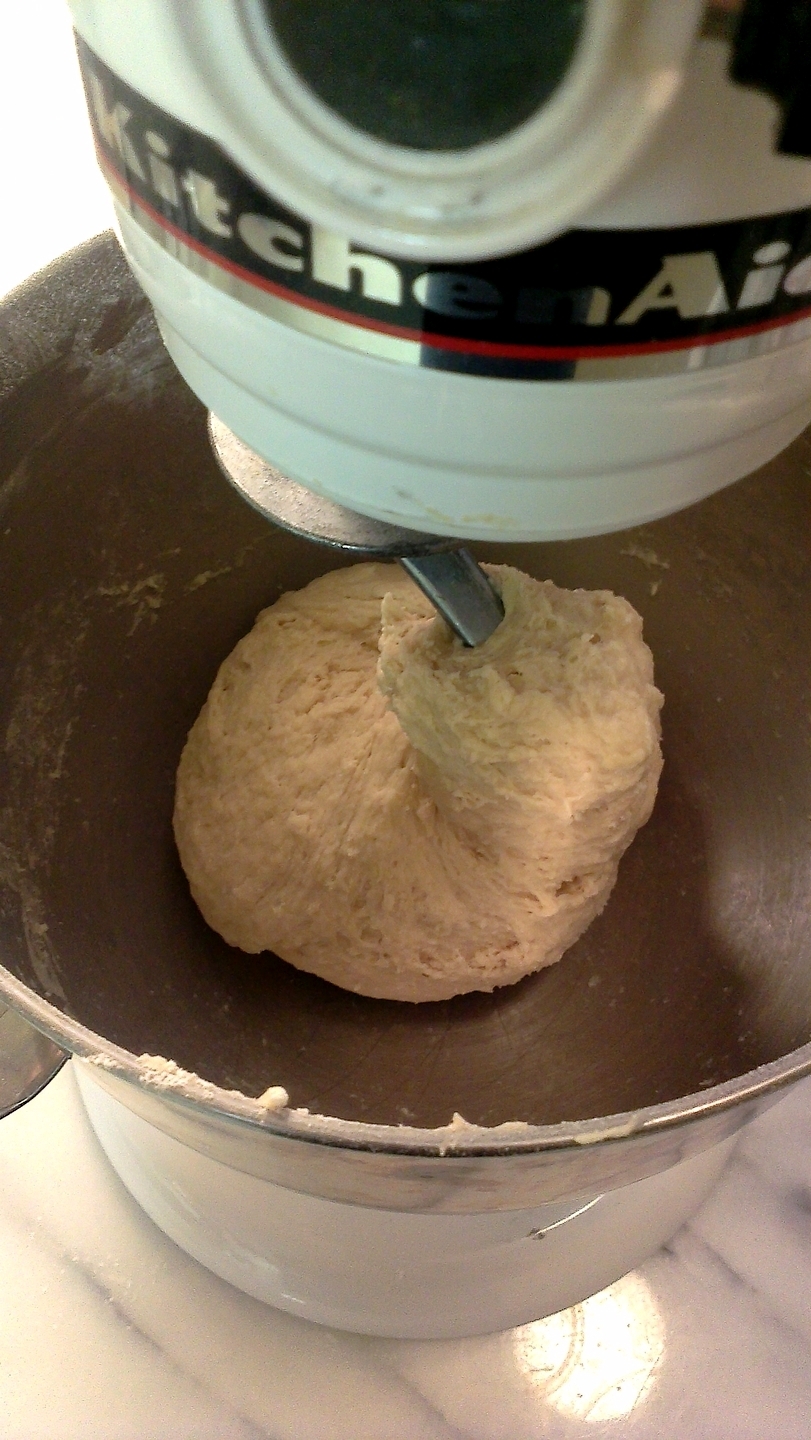
Transfer the mix to a medium or large bowl, sift in the flour and baking soda, and knead it until flour is completely absorbed. I found it best to mix as much in as possible with a fork before kneading. The dough may be sticky! If for some reason it's too dry, add water a tiny bit at a time. Cover the bowl, and let the dough sit for about an hour.


In the meantime, start the syrup. Add the water or juice, sugar and lemon juice to a small saucepan on high heat. Stir the mixture constantly until it comes to a boil, and the sugar is dissolved. Reduce heat to low, and add the honey and remaining coconut. Simmer for 10 minutes, keeping a close eye on it -- if it the gets too hot, the honey can boil over suddenly! Reduce heat to the lowest possible setting to keep syrup warm.

When it comes to cooking the doughnuts, if you have it, I recommend using a stove top or an electric wok. Years of making Chinese cuisine with my mother has taught me that a wok is one of the best instruments for frying. The bowl shape helps reduce oil splatter on your counters and stove, and the subtle shallowness of it is perfect for getting the most out the oil you'll use. Plus, it'll allow you to fry more at once than a typical pan. However, if you don't have a wok, add the oil to a small sauce pan and on high heat.


Place a small amount of flour in a bowl for your hands -- you'll need it to work the dough without it sticking to you! To make the proper size for Yo-yo's, use about a walnut sized ball of dough at a time. Dust your hands with flour first, roll each bit of dough a little, and flatten slightly into your palm. Use your thumb to press a hole into the dough. You may want to dip your thumb in flour first. Drop each doughnut into the hot oil for about 1.5-2 minutes on each side. Use a slotted spoon, spatula, or cooking chopsticks to flip and remove them. Let sit on paper towels to drain.


Take your little golden doughnuts and dip them into the warm syrup. You may want to let them soak for a little bit, just to soak up a bit more. As noted earlier, I sprinkled some of the just-soaked doughnuts with black sesame seeds, but it looked horrible (tasted great, though!) So, if you serve them to anyone besides yourself, use white seeds!


I sprinkled them with a little sugar, and voila! Delicious little Yo-yo's! Absolutely wonderful with a cup of tea. I like to dip them.

Enjoy!


Tuesday, February 19, 2013

Russian Napoleon Torte (Condensed Milk Cream Cake)

    Back in 2007, I was visiting with some friends in the Northeast. They're a close-knit Russian/Ukrainian family, and I had the pleasure of having a home cooked meal with them. The wonderful dinner concluded with this amazing Napoleon Torte. I wish I'd inquired about the recipe then, but after a rigorous search, I think I've found the next best thing! Actually, it may even be a little better...

   Before you undertake anything like this, be aware that it takes some time. Mind you, nothing about it is very difficult, but it requires a bit of work and patience. If you have a Kitchen Aid mixer, it'll save you a heap of time and save your hand from a lot of work.

-----------------------------------------------------------------
For the dough:

1/2 cup Sugar (more if you want a sweeter dough)
1/3 cup Butter at room temperature
2 eggs, at room temperature 
1 1/2 cups Milk (I used 1%, but any is fine)
1/2 tsp Baking Powder
4 cups Flour, plus more if needed

-----------------------------------------------------------------
For the condensed milk cream:
18 Oz Sweetened Condensed Milk (1 and 1/4 cans or so)
3 cups (1 1/2 half pints) Heavy Whipping Cream 
1 pint Milk 
4 Tbs starch (any kind)
2 eggs

------------------------------------------------------------------
For the topping: (This is optional. You can leave the cake layered with just the cream, or really cover it however it suits you)

2 - 2 1/2 pints Heavy Whipping Cream
Sugar to taste (optional)
Slivered almonds


To start, mix the softened butter and sugar, until completely combined.


Beat two eggs and add to the mixer. Slowly add in the milk.


I recommend switching to the Dough Hook attachment, now. Slowly start adding flour. I started with 1-2 cups at a time. It doesn't really matter how much you add, just keep mixing it in until the dough is thick, and no longer sticky. I think I used a total of 4 1/2 cups. Make sure to add it in small increments -- once you add too much, you can't take it out!

The dough will be heavy and should pull away from the sides of the bowl, easily. Wrap the dough in plastic wrap, and set aside for about 30 minutes. Preheat your oven to 350 F.


Once your dough has sat around for awhile, split it into 20 equal balls. This may take a bit of time, but get them as even as you can.


Now the fun part begins! Flour your surface and rolling pin, and roll out each ball to as thin as a crepe. The best way I found to do this was alternating two non-stick baking sheets -- I'd roll out one ball while another sheet of dough was in the oven, and switch them. If you don't have non-stick baking sheets, a Silpat might be necessary. Each sheet of dough should bake for about 4-5 minutes, and should slide off the sheet easily.


Stack your layers and place something circular on top to cut around for evenness -- I used a large upside down mixing bowl.


Traditionally,  the edges are saved to decorate the sides of the cake, but I chose not to do this.


The condensed cream. This next step is a little tricky. Beat your eggs with the starch, making sure to not leave any lumps. Add your milk to a heavy bottomed pot, and warm it SLIGHTLY. Slowly mix in your egg and starch mixture, being very careful that the temperature of the milk doesn't get too high, or the egg will cook and become lumpy. This took me a couple tries! Keep the heat on the lowest setting and stir constantly to prevent scorching for about 10 minutes. This is tedious, but worth it. The milk must thicken. It'll reduce quite a bit. Once it's thickened, turn off the heat and let it cool for awhile. Once it's cooled, stir in the sweetened condensed milk. Let cool completely.


While the cream is cooling, add your heavy whipping cream to a chilled glass bowl. Remember to use a large bowl, because the cream will increase in volume quite a bit. Using a whisk or hand mixer, beat the cream until hard peaks form. If you're doing this with a whisk, it's going to take quite awhile! Gently fold the whipped cream into the cooled condensed cream mixture.


Assembly --

Using a pastry brush, cover the top of each layer of the cake with the finished cream. About 4-5 Tbs of the mixture should do for each layer, but use more if you like. Keep coating and stacking the layers, and coat the sides once completely stacked. Let the cake sit in the fridge for a few hours, or overnight. 

After some time in the fridge, the cake is ready to eat, or you can add to it -- I covered it in fresh whipped cream and slivered almonds, which went over VERY well! You can add fresh strawberries, raspberries, peaches, nuts, or even drizzle chocolate across the top. Such a rich and simple sweetness tastes great with almost everything! I adore it with a cup of coffee.

Enjoy!


Monday, February 11, 2013

Basic Italian Seasoning


   Again, this isn't very "worldly", but it's quite universal in all basic Italian cooking. Plus, this can last you quite awhile, it's an easy recipe to double or triple, and can be doctored to taste. I've known a few people that don't like Rosemary (how, I don't know!), but you can easily omit it when you make your own seasoning, as opposed to store-bought. You can also add to this; marjoram, sea salt, onion or garlic salt -- the possibilities go on and on. My favorite part about this, is these are usually spices one has on hand, so no trips to the store when I'm out -- just make another batch.

3 Tbs dried Oregano
3 Tbs dried Basil
2 - 3 Tbs dried Parsley (Original recipe is three, but I use two, not being terribly fond of it)
1 Tbs Garlic Powder (OR 1 Tbs dried Minced Garlic)
1 tsp Onion Powder (OR 1 1/2 tsp dried Onion Flakes)
1 tsp dried Rosemary
1 tsp dried Thyme
1/4 tsp ground Black Pepper
1/4 tsp Red Pepper Flakes (I almost always add more!)


Mix all ingredients in a Spice mill, with mortar and pestle, or just in a bowl, crushing it a bit with the back of a spoon. I find the spoon works quite well! It should stay at full flavor for about 6 months, but it's shelf-life is pretty indefinite. I suggest maybe adding a tab more than a recipe calls for if you're using a mix for than 6 months old.

Sunday, February 10, 2013

Cinnamon and Spice French Toast, with Caramelized Apples in a Fireball Whisky Reduction


  Okay, okay. So this very first recipe isn't anything inspired from around the globe, but it is my latest experimental success! Plus, it's the first recipe I've cataloged from start to finish. And I may have amateur photos at the moment, and not spiffy and gorgeous photos like other food blogs, but hey, you gotta start somewhere! I figure better late than never. Besides, if I don't get going now, I may never!

This recipe was my own minor twist on typical French Toast. I discovered the amazing Fireball Cinnamon Whisky thanks to a friend of my husband's who brought a flask of it to our wedding of all things. We both took rather large swigs of it at the start of our reception, and I don't think we'll ever dance that well, again.


So let's start with the ingredients for the French Toast.
These are slightly altered, but typical ingredients for any basic French Toast recipe.

3/4 cup Eggbeaters OR 3-4 whole eggs
1/4 cup ANY kind of milk (even non-dairy coffee creamer works! [Add more egg if you want to omit milk])
6-8 slices of bread (I used Nature's Own Double Fiber Wheat, but most sliced breads will do)
Up to 1 Tbs of Cinnamon (I always use a lot, because the flavor won't come through, otherwise!)
Dash of Allspice
Butter or non-stick cooking spray for pan

---------------------------------------------------------------------

Ingredients for Sauce

2 medium Apples (I used Pink Lady since it's what I had on hand, but most apples should do*)
1/4-1/2 cup Fireball Cinnamon Whisky
3 Tbs Agave Nectar, plus more for drizzling
2 tsp Cinnamon
Dash of Allspice
2 Tbs butter
1 tsp Vanilla extract
1 tsp lemon juice *(if you use tart apples like Granny Smith, you may not need lemon)


Peel and chop your apples, add to small or medium saucepan on high heat.
Melt and mix in 1 Tbs of butter, coating all the apple slices.
Add 2 Tbs of Agave Nectar and stir again.


Add the Cinnamon, Allspice, and Whisky. Mix, again.
Cover and let simmer for about 3 minutes.


Add another Tbs of butter, and 1 Tbs Agave Nectar.
Cover again, and let simmer until desired browning. Stir the apples every so often to prevent sticking.
I like my apples soft, but if you don't, I suggest tasting a slice here and there to check consistency.


Once they reach a desired texture, stir in the vanilla and lemon juice.
I kept the apples on the very lowest heat setting while I made the French toast, stirring every few minutes.


For the French Toast --

Add eggs, milk, cinnamon and allspice to a pie dish or shallow baking dish.


 Whisk until it looks gross. Mix with a fork if you don't have a whisk!

Pre-heat your pan to medium-high and grease with either non-stick spray or butter.
Soak both sides of bread in egg mixture, and add to pan.
Flip after about 1-1 1/2 minutes and continue cooking.
Remove toast and repeat until the egg mixture is gone.

 Mine made exactly six pieces.

Top with Apples, drizzle with Agave Nectar (or syrup).
I added whipped cream and cinnamon for an extra kick!


Let's just say there weren't any leftovers from this recipe!